Pinhole Photography
|
An Illustrated Recipe for Making a Pinhole Camera
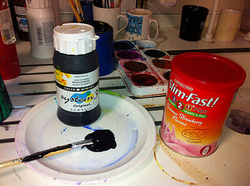
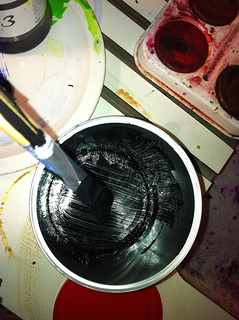
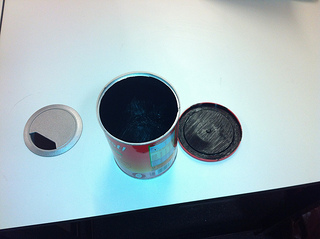
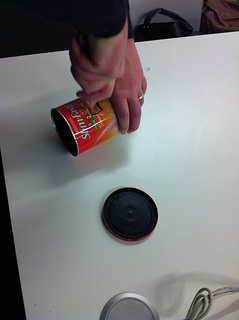
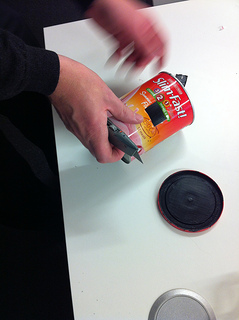
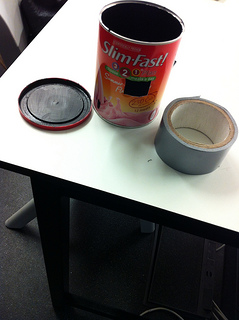
Ingredients: 1 x container (biscuit tin, chocolate powder carton etc.) 1 x sharp knife Duct tape A very thin, sharp pin Black matt paint Paint Brush Tinfoil A pair of scissors Step 1: Find a suitable container e.g. a cocoa tin or box. Try to ensure it has a removable lid and that the material it is made from is light proof. Step 2: Paint or spray the inside, and if necessary the outside, of the container black. This will prevent light bouncing around inside, ensuring that you get a clear image. Make sure that the lid of your container is light proof and relatively easy to remove and replace. Step 3: Cut a rectangular hole half way up the container (approx. 2 cm square) take care not to cut yourself! Step 4: Cut a 2.5 cm square piece of aluminium foil (tinfoil) and smooth it out. Use a pin to create a small hole in the centre of the tinfoil. Step 5: Attach the tinfoil to the container making sure the pinhole is over the rectangular hole you already created. Step 6: Make a shutter flap out of card and/or tape that can open and close as you need it. Make sure that it completely covers the pinhole. Step 7: In the darkroom (under the red safe light) cut a piece of photographic paper to fit inside your container. Secure it in place with a small piece of tape if necessary. It should stay completely still throughout the exposure. Securely attach/replace the lid of your container and close the shutter. Step 8: Take the camera outside and find a suitable subject. Ensure that the camera is stable and can't be moved during the exposure. Open the shutter and expose the paper. Depending on the size of the pinhole and the brightness of the light your exposure can be anything from 30 seconds to 5 minutes. Make an educated guess and use your first image as a guide. Step 9: Close the shutter at the end of the exposure time and take the camera back to the darkroom. Carefully remove the paper and place it in the chemicals:
Step 10: There are two methods for creating a positive from your paper negative: In the darkroom: Make sure that your print is dry. Get a flat sheet of glass bigger than the image and another sheet of paper roughly the same size as your negative. Place the new (unexposed) piece of paper shiny side up underneath the enlarger. Place your paper negative on top of this and the glass on top of both. Select an exposure time of approx. 8 seconds. Expose the image. Remove the bottom piece of paper and develop as before. In Photoshop: Scan your paper negative. Import this scanned image into Photoshop. Select Image >Adjustments > Invert. Adjust the Levels if necessary. Rename the image and export as a jpeg. Hey presto, you should now be the proud owner of your very first pinhole print. here's an example of a pinhole image made by one of my friends. Unfortunately, I couldn't get my pinhole camera to work. 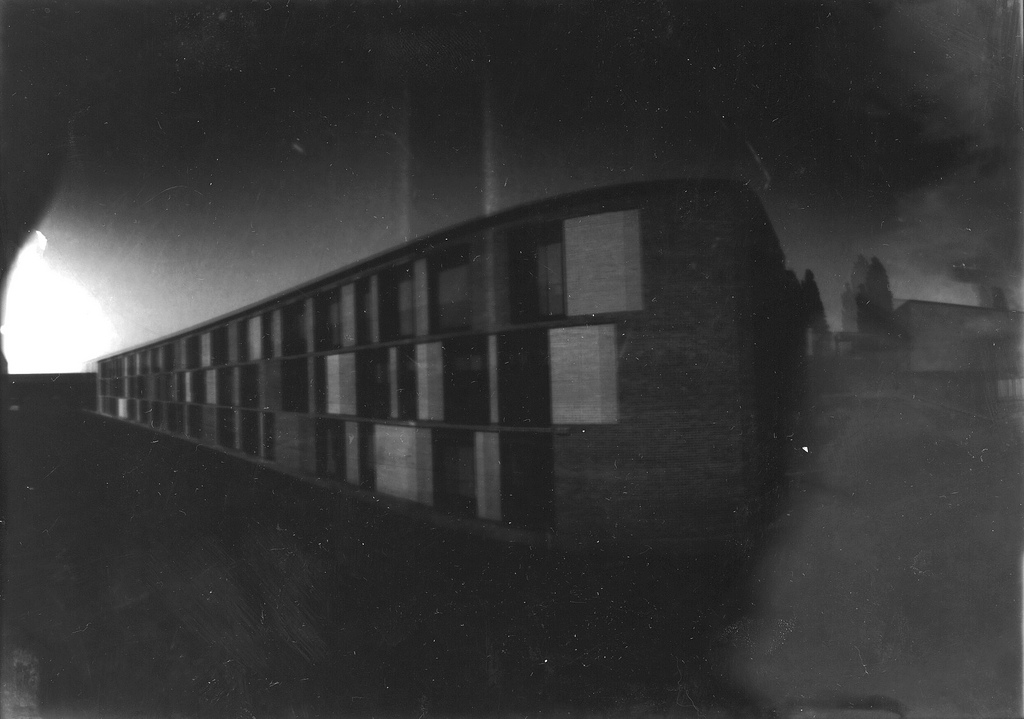
EvaluationWhen it came to the time for me to place my photographic paper in the chemicals my images all went completely black. I tried and tried and also altered how long 'd leave my camera open to natural sun light. I also changed the size of the hole in on the tinfoil even though it was fairly tiny. Perhaps extra light was getting into the camera through the lid or through unseen holes in the tinfoil.
|
|
